If you've been around the crafting world, you've probably heard the word Glowforge mentioned and maybe even seen some of the amazing projects that come out of it! So what is it? A printer? Nope (despite Glowforge themselves confusingly referring to it as a printer). A 3D printer? No, again. 3D printers use a filament in many layers to create an object. The Glowforge is a laser and the beam of light literally burns and takes away from the material you put into it.
Glowforge is a CO2 laser. Electricity is run through a glass tube filled with carbon dioxide, which produces a beam of light the width of a human hair. This laser beam is used to cut or engrave a variety of materials.
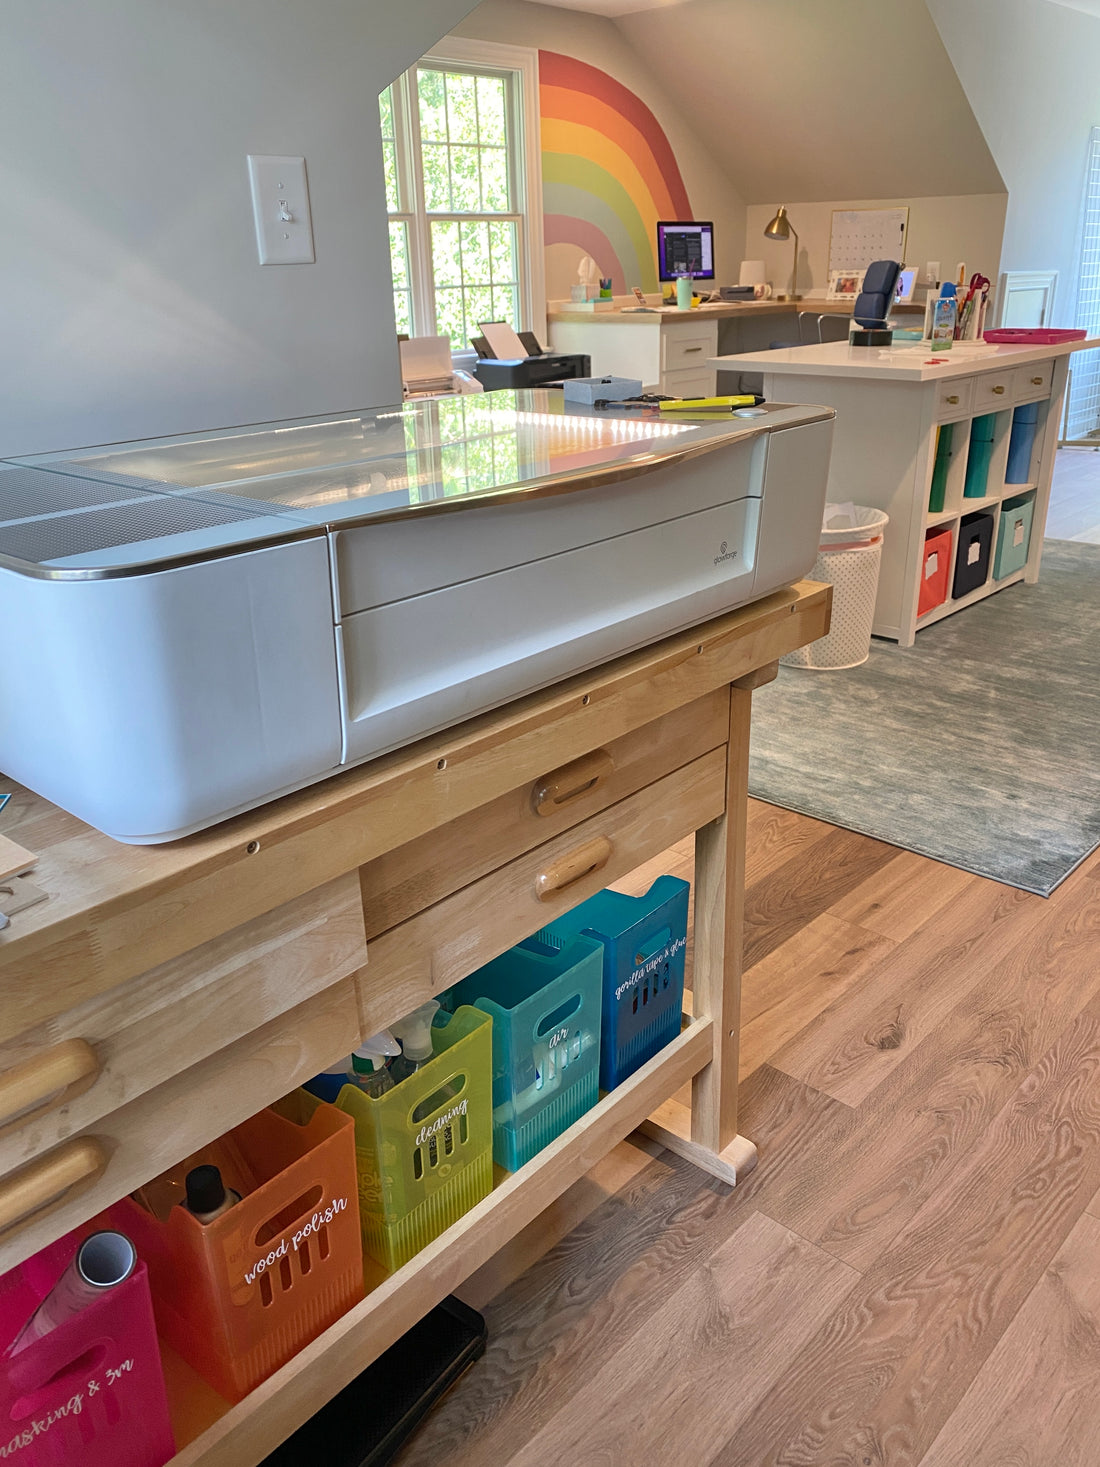
Simply place your material (up to 12″ x 20″) in the bed of the Glowforge on the honeycomb tray. This can be acrylic, wood, cardboard, leather (vegetable tanned only), fabric, and so many other things, even food! You can buy “proofgrade” materials straight from Glowforge, which basically means they’re approved to work perfectly with their settings, and the boards have handy QR codes the Glowforge will scan and detect the material. But you’ll save A LOT of money by finding other sources for your materials, maybe even a small business local to you. Lasered By The Creek is my go-to for wood, and Custom Made Better has every possible acrylic you could look for. Click this link to save 10% off your first order of acrylic!
With your material in place, you will send your design, saved as an SVG (scalable vector graphic), to the Glowforge via wifi. I personally use Silhouette Design Studio Business Edition to design and create SVGs. A lot of people use Illustrator, Corel Draw or Lightburn. The program doesn’t really matter, as long as you can save as SVG. You can even buy pre-made SVGs from places like Etsy or Creative Market. You can cut shapes or engrave designs, or both! Here’s a little time-lapse video of me engraving and cutting some race medals out of wood.
 As the laser burns away layers of wood or acrylic, you need that dust to go somewhere, and you sure don’t want it hanging out in your room! You need to decide how to best vent the laser. Glowforge does sell a compact filter, but I’ve not used it. I’ve only heard how expensive the filters are to replace and how quickly you will go through them. To me, the best option is to vent out a window. You just need some 4 inch ducting (I use a 4 layer ducting to prevent leaks). Connect one end to the back of the Glowforge and the other one can literally hang out your window, or you can get fancy like me and get a window dryer vent to connect the other end to, and then you simply take that in and out of the window as needed. Just be sure to seal up the connections really well with foil tape.